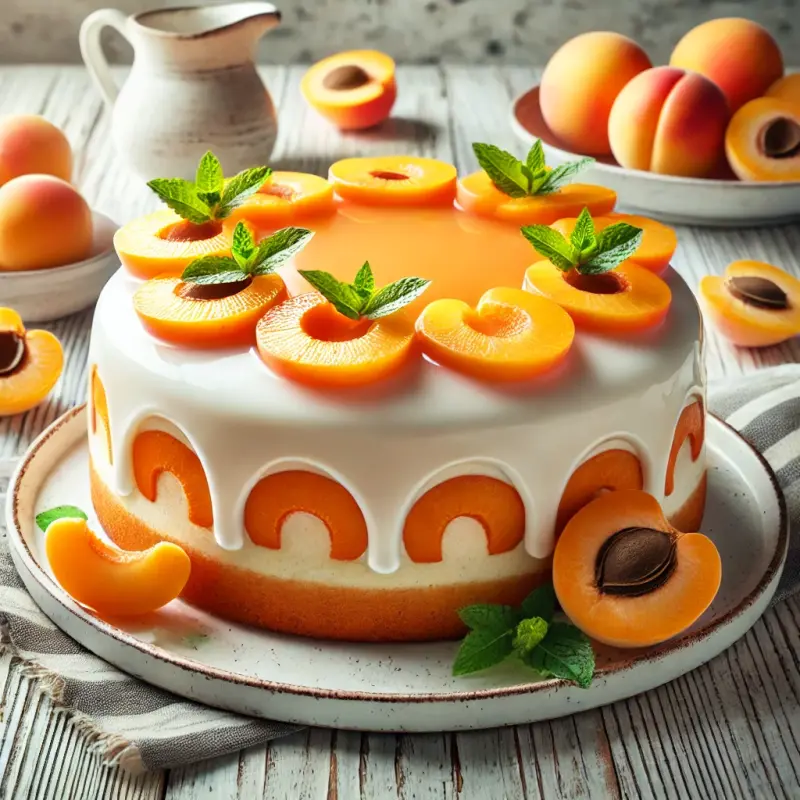
Apricot Cake with Vanilla Layer: A Sweet Indulgence

Introduction
There's something undeniably special about homemade cakes. The aroma that fills the kitchen, the anticipation of the first bite, and the satisfaction of sharing it with loved ones—baking is an art that brings joy. This recipe for an apricot cake with a creamy vanilla layer combines the sweet tang of apricots with the subtle richness of vanilla, resulting in a dessert that's both elegant and comforting. Whether you're a seasoned baker or a beginner, this step-by-step guide will help you create a masterpiece.
Ingredients
For the Cake
- All-purpose flour: 2 ½ cups (300g)
- Baking powder: 2 teaspoons
- Salt: ½ teaspoon
- Unsalted butter: ¾ cup (170g), softened
- Granulated sugar: 1 ½ cups (300g)
- Eggs: 3 large
- Pure vanilla extract: 1 teaspoon
- Milk: 1 cup (240ml)
- Fresh apricots: 8–10, sliced thinly
For the Vanilla Layer
- Cream cheese: 1 cup (225g), softened
- Powdered sugar: ½ cup (60g)
- Heavy cream: ½ cup (120ml)
- Vanilla extract: 1 teaspoon
For the Glaze
- Apricot preserves: ½ cup (120g)
- Water: 2 tablespoons
Optional Garnish
- Fresh apricot slices
- Mint leaves
Instructions
Step 1: Prepare the Cake Batter
- Preheat your oven to 350°F (175°C). Grease and flour two 9-inch (23cm) round cake pans, or line them with parchment paper.
- In a medium bowl, whisk together the flour, baking powder, and salt.
- In a large mixing bowl, beat the butter and sugar with an electric mixer until light and fluffy, about 3 minutes.
- Add the eggs one at a time, beating well after each addition. Stir in the vanilla extract.
- Gradually add the flour mixture to the butter mixture, alternating with the milk. Begin and end with the flour mixture, mixing just until combined.
- Gently fold in the apricot slices.
Step 2: Bake the Cake
- Divide the batter evenly between the prepared cake pans.
- Bake in the preheated oven for 25–30 minutes, or until a toothpick inserted into the center comes out clean.
- Let the cakes cool in the pans for 10 minutes, then transfer them to a wire rack to cool completely.
Step 3: Prepare the Vanilla Layer
- In a medium bowl, beat the cream cheese until smooth.
- Add the powdered sugar and continue to beat until well combined.
- Gradually add the heavy cream, beating until the mixture is fluffy and spreadable. Stir in the vanilla extract.
Step 4: Assemble the Cake
- Place one cake layer on a serving plate. Spread a generous layer of the vanilla filling on top.
- Gently place the second cake layer over the filling.
- Spread a thin layer of the vanilla filling over the entire cake to create a smooth base for the glaze.
Step 5: Add the Glaze
- In a small saucepan, heat the apricot preserves and water over low heat until the preserves are melted and smooth.
- Strain the mixture to remove any fruit chunks, if desired.
- Using a pastry brush, spread the glaze evenly over the top of the cake.
Step 6: Garnish and Serve
- Decorate the cake with fresh apricot slices and mint leaves for an elegant finish.
- Chill the cake in the refrigerator for at least 1 hour before serving to allow the layers to set.
Tips for Success
- Choose ripe apricots: For the best flavor, use fresh, ripe apricots. Their natural sweetness will enhance the cake's overall taste.
- Don’t overmix: Overmixing the batter can result in a dense cake. Mix just until the ingredients are combined.
- Refrigerate before serving: Letting the cake chill helps the flavors meld and makes slicing easier.
Serving Suggestions
This apricot cake pairs wonderfully with a cup of tea or coffee. It’s ideal for special occasions like birthdays, anniversaries, or simply as a weekend treat. Store any leftovers in an airtight container in the refrigerator for up to three days.
Final Thoughts
Creating this apricot cake with a vanilla layer is a delightful experience that rewards you with a dessert as pleasing to the eye as it is to the palate. The combination of tender cake, creamy filling, and glossy glaze makes this a standout recipe you'll want to make again and again. Enjoy the process and savor the results—happy baking!
Articles
Sign up for our alerts to get the most recent and engaging articles delivered straight to your email.